- zhhivi@hivi.com
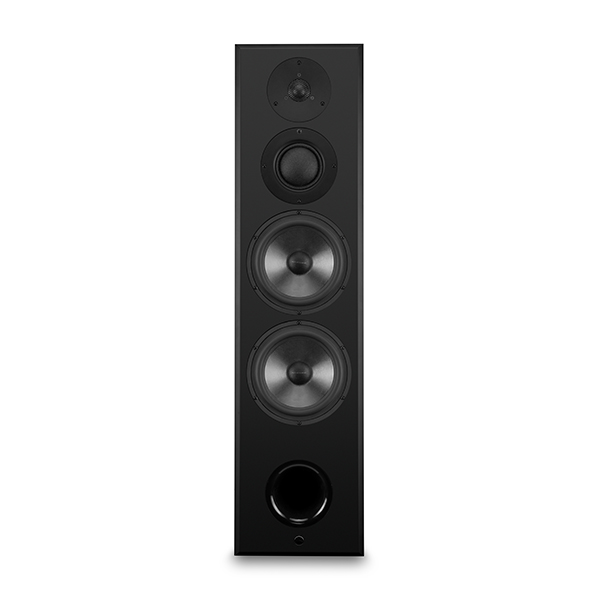
Swan DIY E6.1 Speaker Kit
$ -
Postage : $0.00
Speaker Driver Speaker Cabinet Kit


E8(woofer)

DM-7500(Mid-rang)

Q4B(tweeter)
Kit Features:
● DIY E6.1 bookshelf box adopts three-way four-order inverted speaker system, which is exquisite and beautiful in appearance and easy to make.
● The subwoofer adopts Hivi's high-quality E8 unit speaker. The unit is made of a diaphragm made of carbon fiber, bulletproof fiber and other excellent acoustic materials. The ultra-light fiber material is used to expand the performance of the diaphragm and obtain a wider and flat frequency response curve. The optimized Small/Thiele parameter design greatly improves the low-frequency sound pressure output of the unit, and at the same time reduces the distortion under loud pressure, providing a solid guarantee for the high-fidelity music reproduction of the bass unit with high dynamic low frequency.
● The midrange adopts natural fiber woven special damping coating dome diaphragm, the sound quality is natural, accurate and transparent. The high-power 75mm high temperature resistant CCAW wire and the high temperature resistant aluminum voice coil frame have high power bearing capacity. The new low distortion guide The phase resonance structure design reduces the Q value of the unit resonance peak, reduces distortion, and maximizes the low frequency response, covering the complete mid-range to express the fundamental tone of vocals and stringed instruments, which can greatly improve the expressiveness and texture of vocals and musical instruments .
● The tweeter adopts the classic 28mm German soft dome sound diaphragm, specially formulated damping glue coating, high temperature-resistant aluminum alloy frame with CCAW wire, and Ferrosound liquid magnetic cooling to provide linear power and effective heat dissipation for the voice coil suspended in it. It restores the sound more delicate and transparent.
● The cabinet adopts the inverted design, and the low frequency is more prominent.
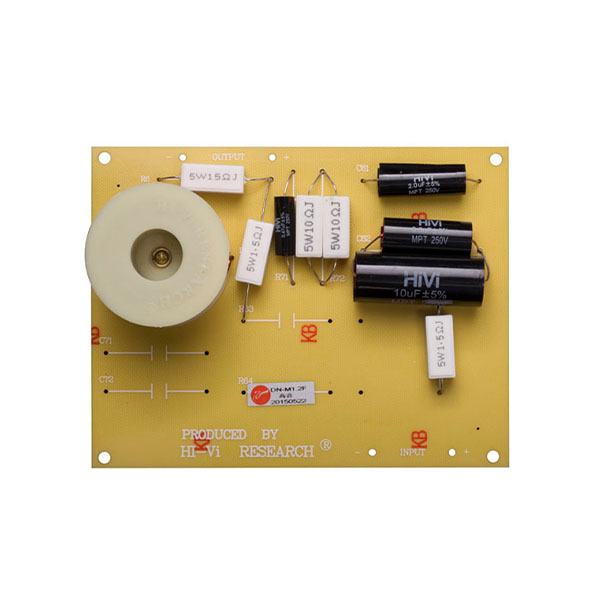
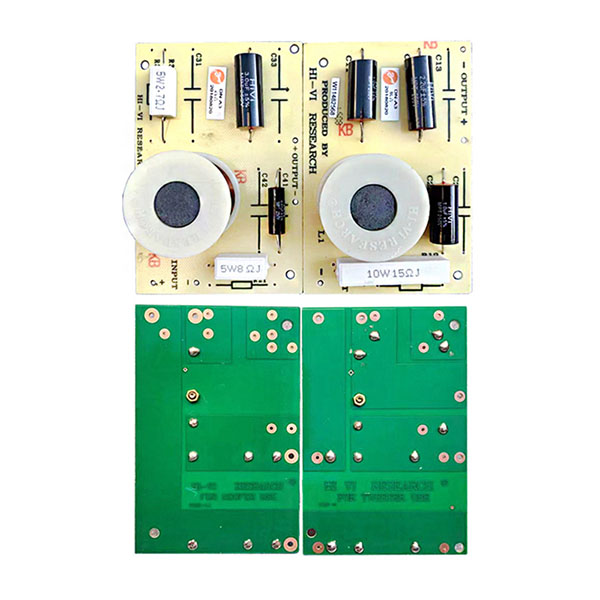
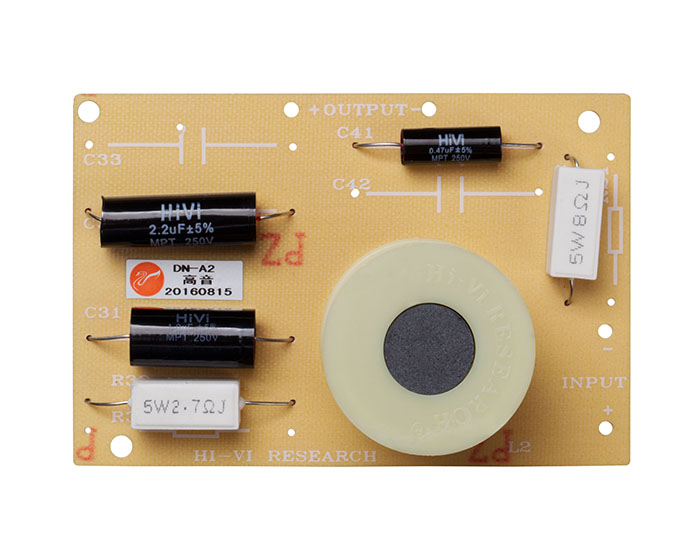
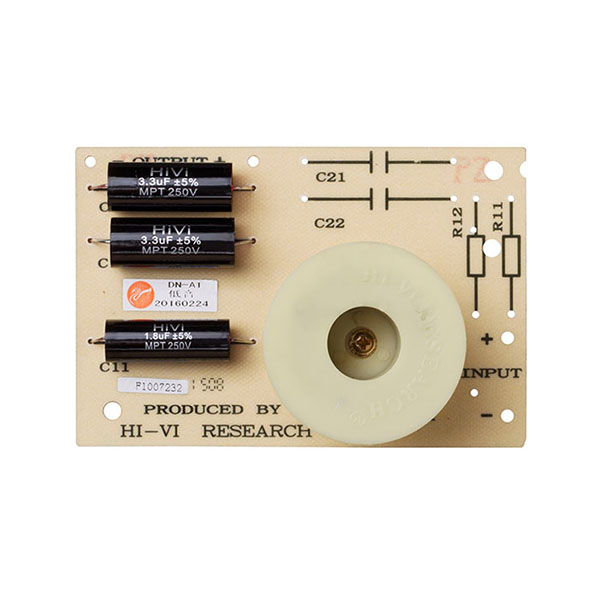
● Precise frequency divider design, accurate audio and video focusing, high-grade components are used on the circuit board, and the distortion is small. The flat frequency response curve, the sound performance is otherworldly, and the balance is very good.
● Adhering to the parameter optimization design that Swans has always insisted on, it fully expresses accurate imaging, wide sound range and amazing dynamics.
Kit List:
Woofer: E8 4PCS
Midrange unit: DM-7500 2PCS
Tweeter: Q4B 2PCS
Speaker surface mesh plug-in: 8 sets
Speaker sign: 2PCS
Inverter tube: 2PCS
Crossover: 2PCS
Kit Instructions: 1PCS
Warranty Card: 1PCS
Screw: 54PCS
Inside the speaker is connected to a high-current speaker wire: 1
Junction Box: 2PCS
Sound-absorbing cotton: 1 piece
Cushion: 8PCS
Certificate: 1PCS
Kit curve graph:


Kit parameters:
Frequency range: 28-20Hz KHz
Power range: 10-200W
External dimensions (WXDXH): 262.7x335.3x1039.6mm
Impedance: 4Ω
Sensitivity: 89dB/1m/1W
Assembly Tool Requirements:
Handheld electric drill, 3mm drill bit, 40-60W electric soldering iron, hexagonal wrench, Phillips screwdriver, sealing glue.
Kit assembly points:
Step 1: Box making
Please process in strict accordance with the dimensions given in the drawings.


Notice:
If the drawings given in the kit are different from those published in the advertisement, please refer to the drawings in the kit;
Step 2: Install the Crossover
Notice:
1. Compare the corresponding length to intercept the fever wire and the welding divider connection in the box;
2. The welding polarity must be correct;
(The red line of the general fever line or the word is the positive pole, and the silver-white line or no word is the negative pole.)
3. Install the frequency divider on the rear box panel (or side panel) opposite the opening of the corresponding unit, and pay attention to adding a square buffer.
Step 3: Install the Junction Box
a. Take out the junction box, turn it over to the back of the junction box, you can see that there are four solder lugs, marked with "+, -", divided into upper and lower groups.
b. Pass the "positive" and "negative" pole fever wires of the input end of the tweeter through the box board from the opening of the box junction box, and weld them to the "+, -" solder lugs of one group of the junction box respectively.
c. Pass the "positive" and "negative" pole fever wires of the input end of the bass crossover out of the box board from the opening of the box junction box, and weld them to the "+, -" solder lugs of the other group of the junction box respectively.
d. Confirm that there is no short circuit or virtual welding between the wire ends and the solder tabs, and then fasten the junction box (gasket) on the box with screws. (Note that the binding posts are up, i.e. "Left Negative, Right Positive".)
Note: The treble and bass are designed as a group of inputs, and the upper and lower terminals of the junction box are connected by connecting pieces, so the input line can be soldered on one of the upper and lower sets of solder pieces.
Step 4: Fill with sound-absorbing cotton. The filling ratio is: 30%.
Step 5: Solder the internal wiring and install the speaker.
Notice:
a. The welding polarity must be correct. Generally speaking, the terminals of the speaker unit have positive (+), negative (-) marks or thickness. (The thick end with red is the positive electrode, and the thin end is colorless for the negative electrode.)
b. Buffer pads must be added to install the speakers and they must be leveled and pressed to prevent air leakage.
c. During installation, the mid-high frequency panel should be at the same level as the outer surface of the speaker, so that a flat mid-high frequency sound pressure curve can be obtained.
No relative downloads now.
Guess you like
